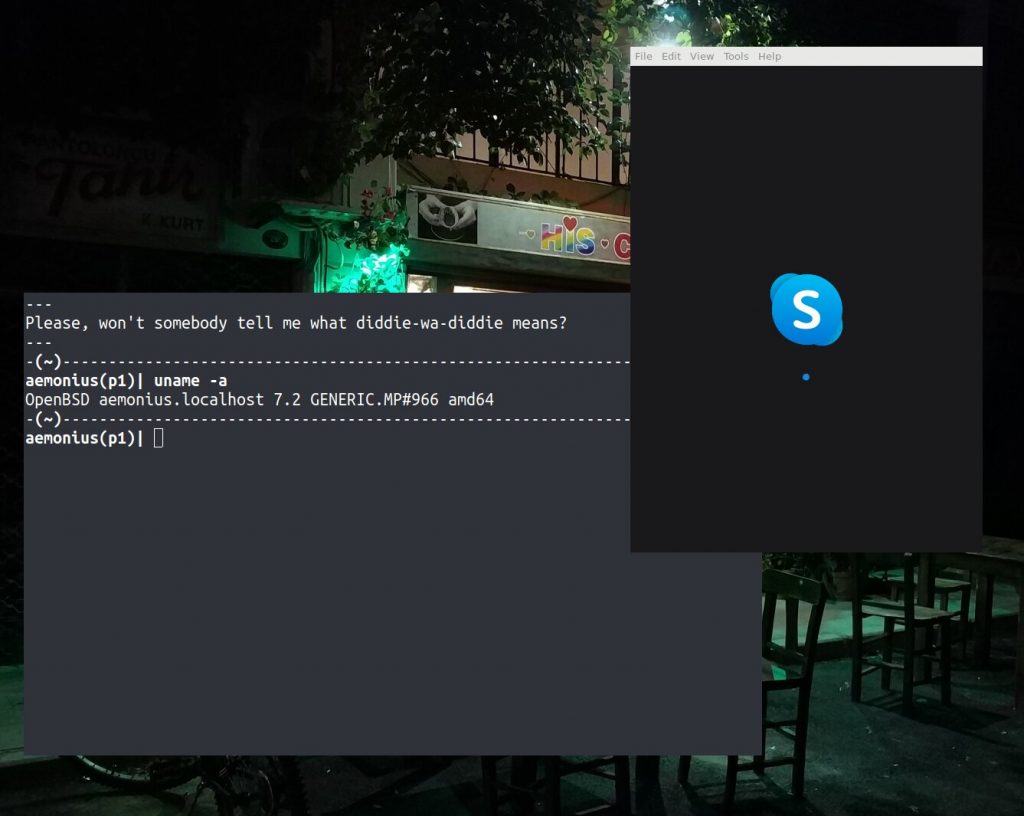
Using OpenBSD is wonderful but unfortunately people expect you to use zoom, skype etc… So I am using OpenBSD’s hypervisor to run ubuntu linux.
The following steps are trivial if you read the documentation. This is meant as a summary for myself.
First, the hypervisor is not meant to run anything else than the OpenBSD operating system. But you can get it to work with some of the GNU/Linux versions.
This is what I am doing:
Edit sysctl.conf
# cat >> /etc/sysctl.conf <<-__EOF__
net.inet.ip.forwarding=1
net.inet6.ip6.forwarding=1
__EOF__
Enable them on the running session:
# sysctl net.inet.ip.forwarding=1
# sysctl net.inet6.ip6.forwarding=1
Change your pf rules:
# cat > /etc/pf.conf <<-__EOF__
# from vm faq at https://www.openbsd.org/faq/faq16.html#VMMnet
match out on egress from 192.168.0.0/16 to any nat-to (egress)
pass in proto { udp tcp } from 192.168.0.0/16 to any port domain rdr-to 8.8.8.8 port domain
__EOF__
If you want to use 192.168.0.0 as your vm network, you need to set up a bridge in vm.conf (with veb0/vport0) and run dhcpd to assign addresses. It’s pretty well documented in the manpages and FAQ.
Enable vmd, and start it as well:
# rcctl enable vmd
# rcctl start vmd
# fw_update
Grab an ubuntu mini.iso from wherever you can.
Make a new virtual disk image,
$ vmctl create -s 30G ubuntu.img
Boot it (login root, no passwd):
# vmctl start -c -m 8G -L -i 1 -r mini.iso -d ubuntu.img ubuntu
At the boot screen, press TAB to edit the grub options, If there’s a “quiet”, delete that and add:
console=ttyS0,115200
on the line shown. Hit enter and install.
When your install is done,
# poweroff
Boot it,
# vmctl start -c -m 8G -L -i 1 -d ubuntu.img ubuntu
Install ssh
$ sudo apt install openssh-server
You will need a lot of X11 libraries etc which do not come with the mini.iso, so what I am doing, which is an overkill, is to install a light desktop
$ sudo apt install lubuntu-desktop
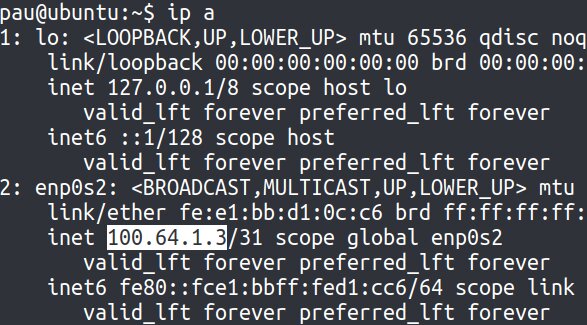
To ssh into your vm, first find out the ip via
$ ip a
You can ssh into your new vm without password by generating a new key

You need to add the pub key to /home/pau/.ssh/authorized_keys in the vm.
What I do is to start the vm and then create that file with vim and paste the pub content into it.
Now you can run a similar script to this one to ssh into the vm (which is more stable than the vm console)
aemonius(p5)| cat bin/ssh_vm_ubuntu.sh
#!/bin/sh
ssh -Y -i /home/pau/fitx_confg/ssh/id_rsa_nopass pau@100.64.1.3
That’s it.
What I do to start a program from cwm is, for instance, the following:
In cwmrc I have the line
# For signal, we use the vm with ubuntu
bind-key 4-s /home/pau/bin/signal_vm.sh
With the script this one:
aemonius(p4)| cat bin/signal_vm.sh
#!/bin/sh

status="$(vmctl status ubuntu | grep running)"
[[ "$status" == "" ]] && {
    /home/pau/bin/vm_start_ubuntu.sh
    sleep 10
}

ssh -Y -i /home/pau/fitx_confg/ssh/id_rsa_no_passwd \
          pau@100.64.1.3 signal-desktop \
          &> /dev/null
And the script
aemonius(p4)| cat bin/vm_start_ubuntu.sh
#!/bin/sh

PWD=/home/pau/vm/disk
doas vmctl start -m 8G -L -i 1 -d $PWD/ubuntu.img ubuntu
For this, you need to add the following line to doas.conf
permit nopass pau as root cmd vmctl